
Demystifying the Travel Trailer Water System Diagram
Embarking on an adventure in your travel trailer is exciting. However, a sudden plumbing issue can quickly dampen your spirits. Fortunately, understanding your travel trailer water system diagram is your first step towards smooth sailing. This diagram is like a blueprint for your RV’s water, showing how everything connects and functions. We’ll explore its components and how to keep your water flowing.
Key Components of a Travel Trailer Water System
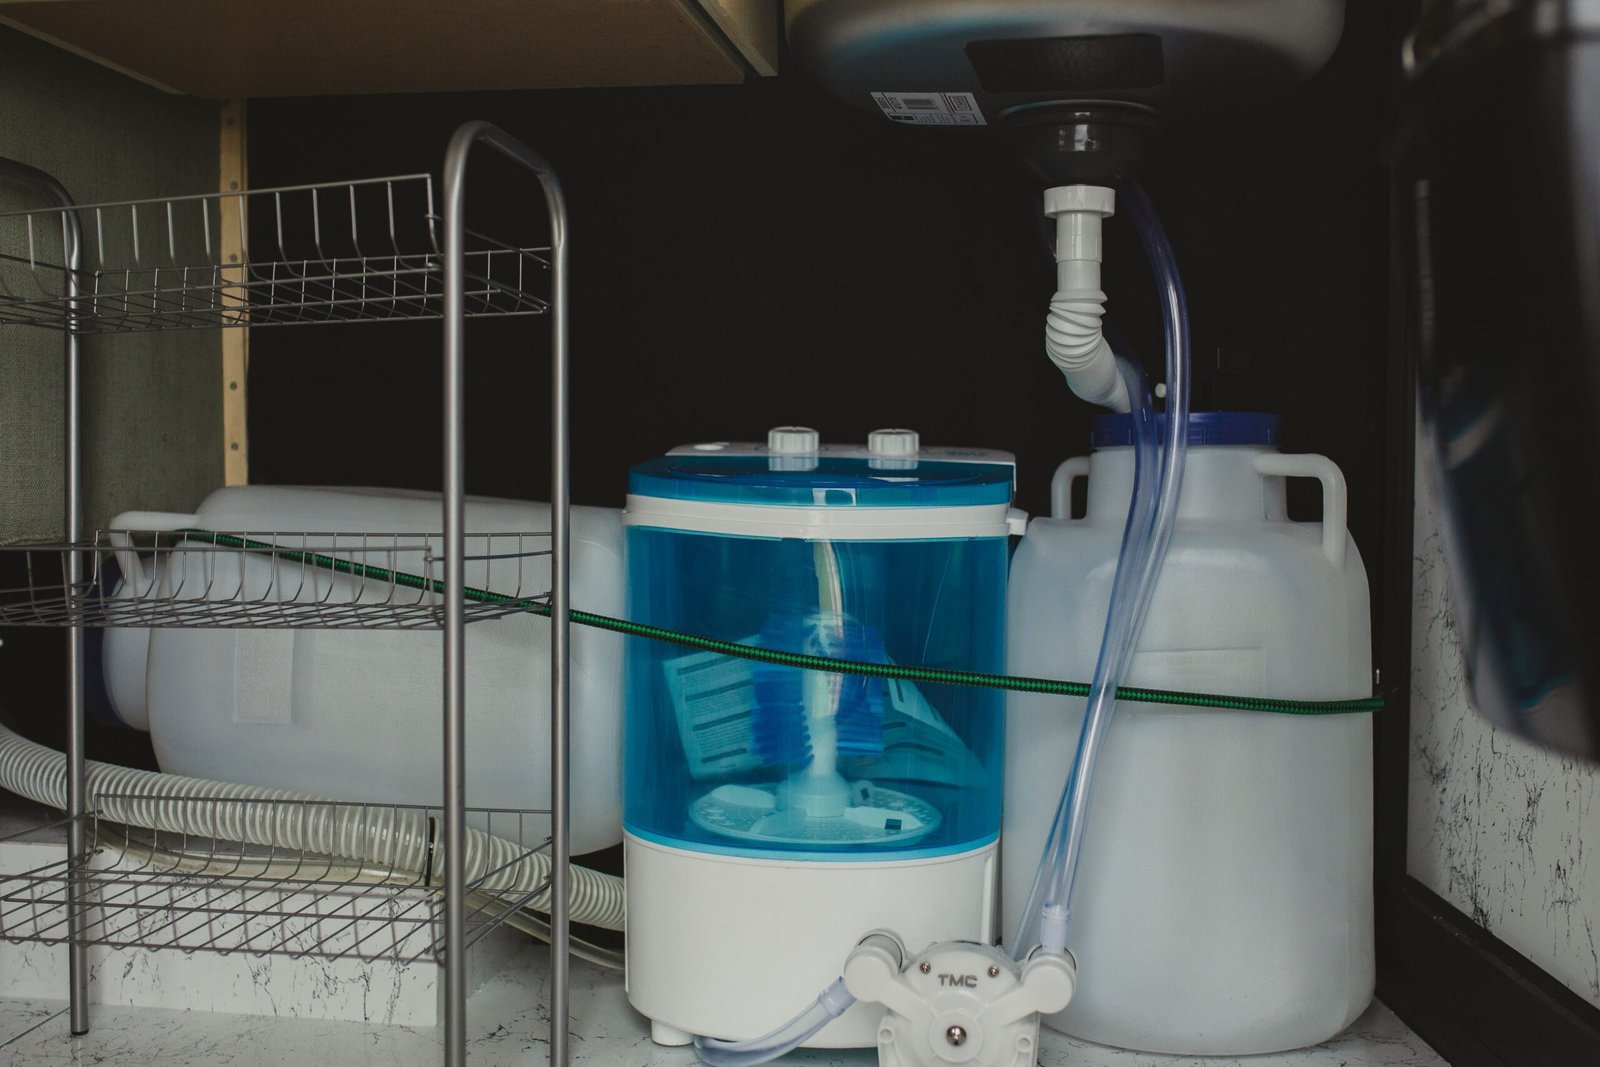
A typical travel trailer water system involves several interconnected parts. Knowing these will help you read any travel trailer water system diagram you encounter.
- Fresh Water Tank: This stores the clean water you use for drinking, cooking, and showering.
- Water Pump: It draws water from the fresh water tank and pressurizes the system, delivering water to your faucets and shower.
- Water Heater: It heats the fresh water, providing hot water for your needs.
- Pipes and Hoses: These transport water throughout the trailer.
- Faucets and Showerhead: These are where you access the pressurized water.
- Grey Water Tank: This tank collects wastewater from sinks and the shower.
- Black Water Tank: This tank holds wastewater from the toilet.
- Vents: Essential for allowing air into the tanks and releasing sewer gases.
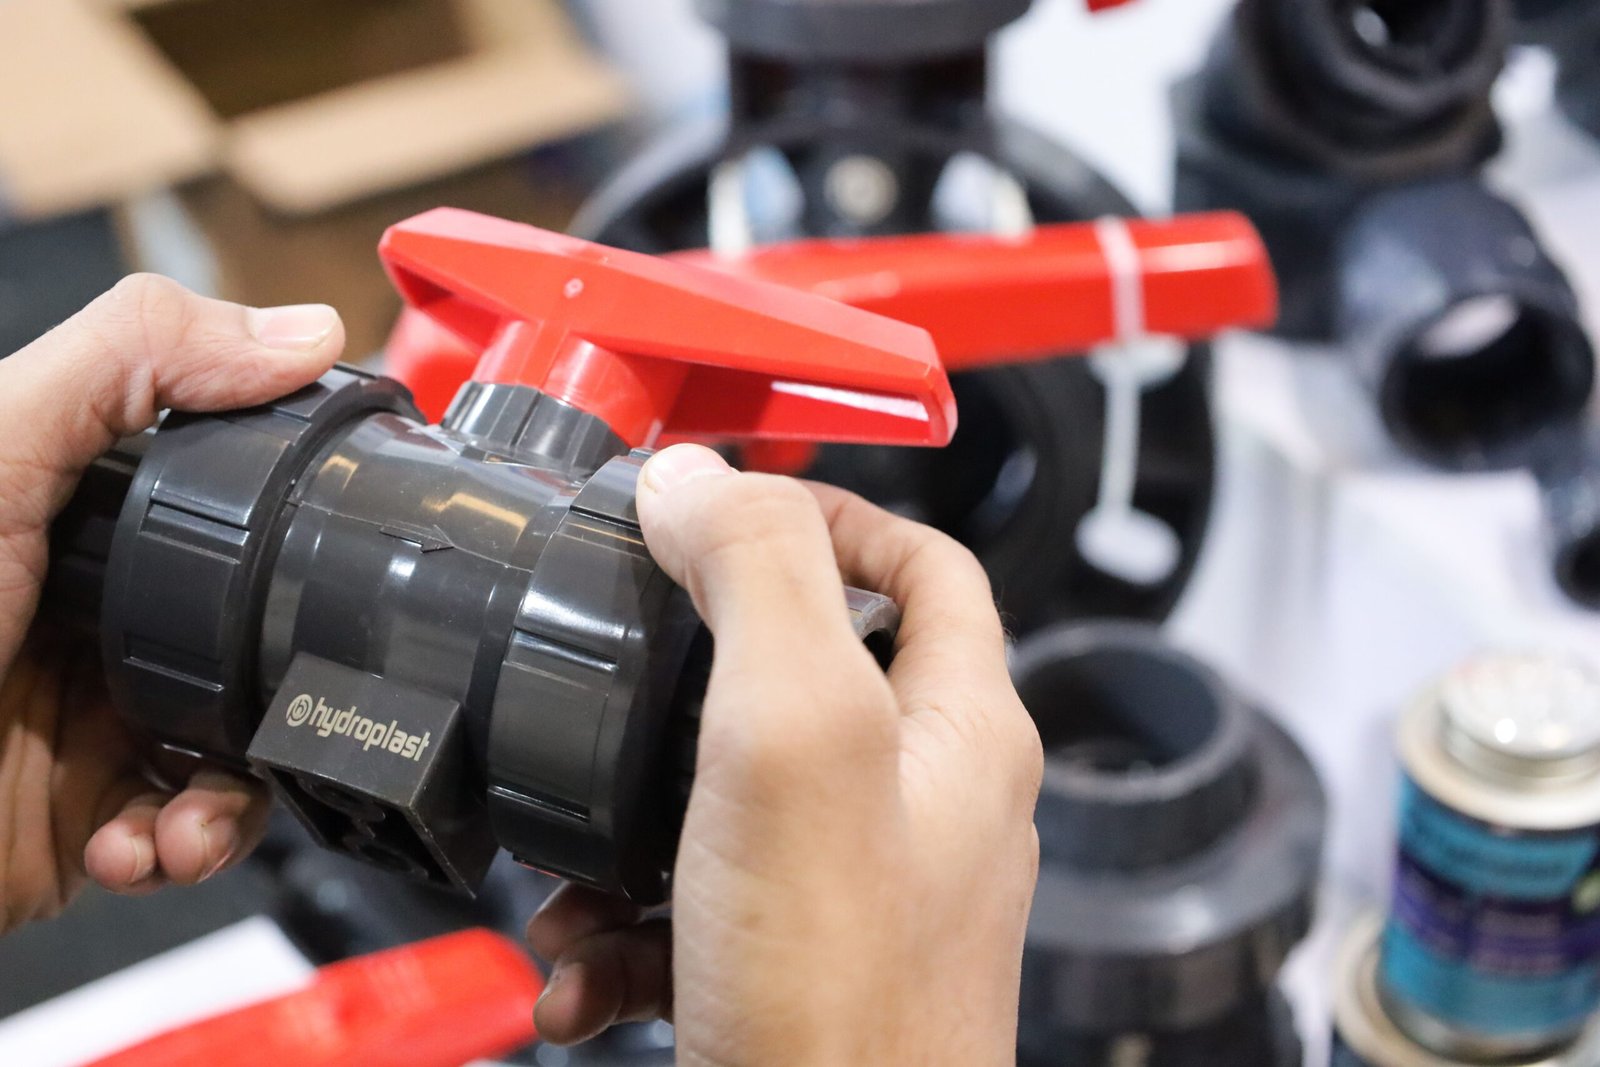
- Winterizing Valves: Used to drain the system and protect it from freezing.
How Your Travel Trailer Water System Works
When you turn on a faucet, the water pump activates. It pulls water from the fresh water tank. Then, it sends this water through the pipes. If you select hot water, it passes through the water heater first. The pressurized water then flows to the open faucet. Wastewater, meanwhile, travels through separate plumbing lines to either the grey water tank or the black water tank. Understanding this flow is key to interpreting your specific travel trailer water system diagram.
External water sources, like campground hookups, bypass the fresh water tank and pump. This provides pressurized water directly to your system. Your trailer’s control panel often indicates tank levels and water pump status.
Troubleshooting Common Water System Issues
Familiarity with your travel trailer water system diagram can simplify troubleshooting. Low water pressure, for instance, might indicate an issue with the water pump, a clogged filter, or a partially closed valve. Leaks are another common problem. Carefully inspect all connections shown on the diagram.
A clogged grey or black water tank vent can cause slow draining. Conversely, a malfunctioning water pump might not be priming correctly, or there could be a blockage in the intake line. Always refer to your trailer’s specific manual and diagram when addressing problems. Regular maintenance, like flushing tanks and checking connections, prevents most issues.
By consulting your travel trailer water system diagram, you can gain a better understanding of your RV’s plumbing. This knowledge empowers you to manage your water supply effectively and resolve minor issues, ensuring a more enjoyable camping experience in 2025 and beyond.



Laisser un commentaire